Hey, have you ever stared at a pile of cardboard boxes and thought, “This could totally spark a cardboard room decor aesthetic in my space”? I mean, I did – right after moving into my tiny apartment last year, feeling that renter’s blues. It’s wild how something so everyday can turn into chic, budget-friendly wall art or shelves that scream personality.
This article is my love letter to anyone juggling small budgets and big dreams for their home. I spent a weekend hacking old boxes into decor, and girl, it saved my walls from boring blankness. No fancy tools needed – just scissors, tape, and a vibe.
Stick with me through these 12 top cardboard room decor aesthetic ideas, and you’ll snag easy inspo to makeover your spot without breaking the bank. You’ll walk away ready to DIY your heart out.
12 Cardboard Room Decor Ideas You’ll Wish You Tried Sooner
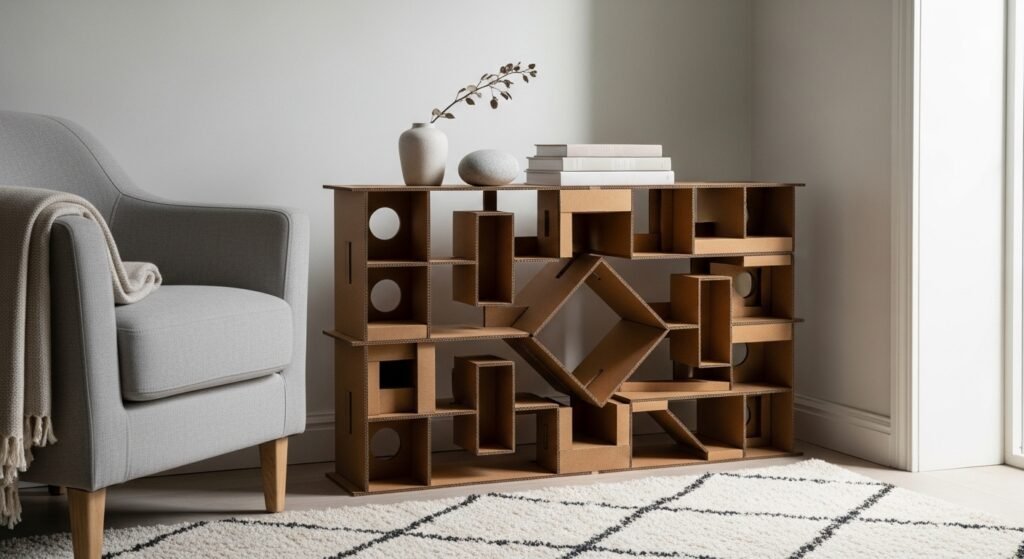
Black Cardboard Bookshelf Glow
This sleek black bookshelf made from cardboard fits right next to a couch like it was born there – total cozy nook vibes. I tried something similar in my living room; it held my thrifted books perfectly until my cat decided it was a climbing gym. You can paint yours matte black for that high-end look, and it’ll fool everyone into thinking it’s real wood.
Half-Moon Shelf Magic
Imagine curving cardboard into a half-moon shelf for your perfumes or candles – isn’t that just dreamy? It adds this soft, organic shape to any wall. I hung one in my bathroom, and now it’s my favorite spot for pretty bottles; tiny imperfection: it wobbles a bit if overloaded, so go light.
Colorful Mirror Cutouts Fun
These vibrant paper cutouts around a mirror scream playful cardboard room decor aesthetic – perfect for a selfie station. Cut shapes from colored cardboard and layer them up. I did this for my entryway, and friends always compliment how it brightens the whole hall; you gotta try the bold colors for max pop.
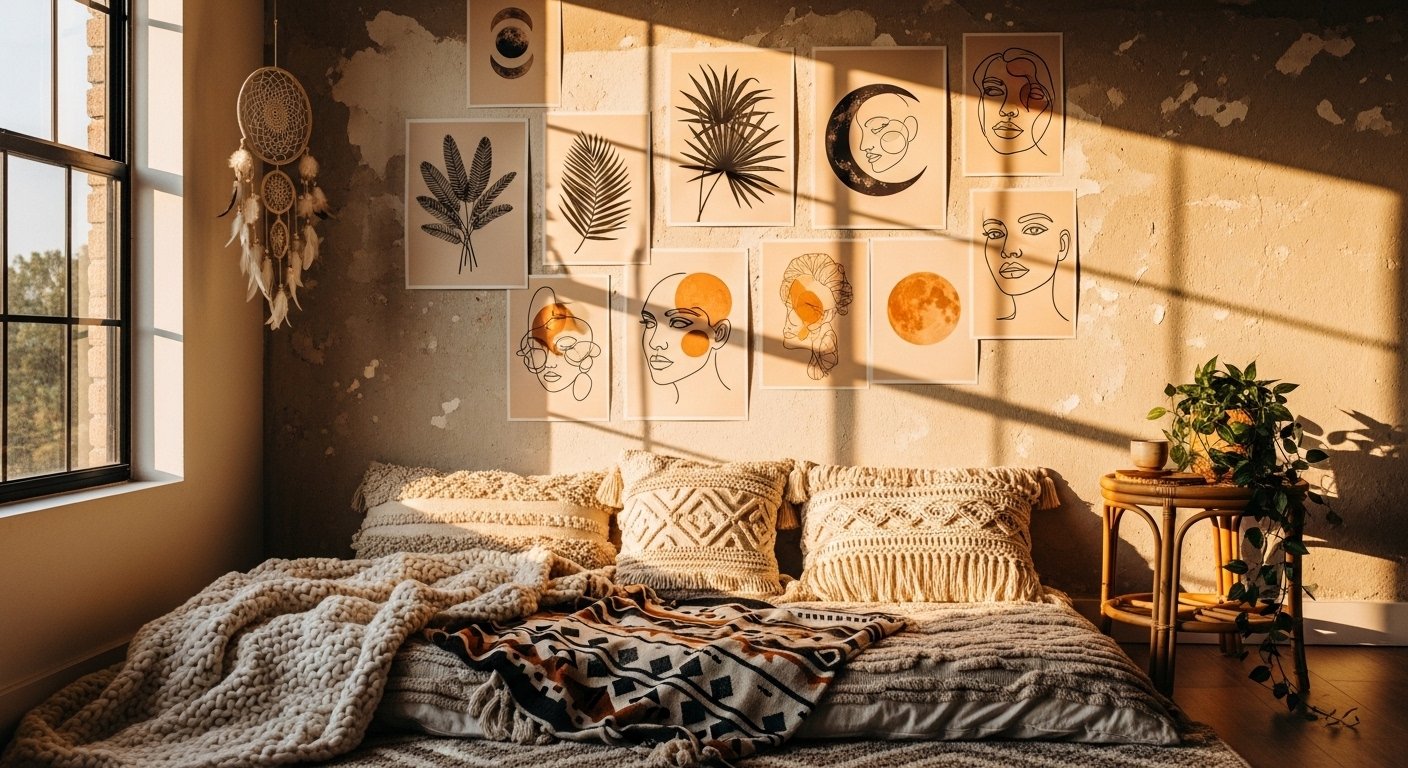
Wall Hanging Assortment Charm
A mix of cardboard shapes dangling on the wall – simple, eclectic, and so forgiving for beginners. It creates movement and texture without nails if you use command strips. One time, I added fairy lights behind mine, turning my bedroom into a mini gallery; you’ll love how customizable it feels.
Origami Tabletop Accent
This origami figure on a table adds whimsy without cluttering space. Fold cardboard into cranes or stars for instant zen. I scattered a few on my coffee table during a lazy Sunday craft sesh – they held up surprisingly well, even with spills nearby.
Open Box Floor Vibe
An open cardboard box on the floor doubles as storage or art – stack ’em for a sculptural effect. Spray paint for color pop. I used one to corral magazines; it’s practical magic, though dust collects inside, so quick wipe-downs are key.
Tabletop Box Display
Just an open box on a table, but styled with plants or books, it becomes decor gold. Elevate yours with washi tape edges. My version holds succulents now – started as a joke, but it’s stayed for months; you won’t believe the transformation.
Stacked Shelf Simplicity
Three stacked cardboard shelves in a white room – minimalist heaven for any aesthetic. Reinforce with hot glue for sturdiness. I built these for my office; they cradle my notebooks perfectly, and honestly, they make the space feel twice as big.
Guitar Display Shelf
A cardboard shelf showcasing a guitar next to quirky wall art – music lover’s dream. Cut custom shapes to fit your gear. Mine holds my ukulele now; I strum more since adding it, tiny story: jammed with friends last week, total vibe booster.
Hanging Bird Mobile
This orange bird hanging from the ceiling with ivy details – pure whimsy in cardboard form. String multiples for a flock effect. I crafted one for my kitchen; it sways gently, making mornings feel magical – pro tip, use fishing line for invisibility.
Layered Cardboard Stack
Stacked cardboard pieces build texture and depth effortlessly. Paint edges for a polished finish. I experimented with this behind my TV – hides cords while adding industrial edge; sometimes it shifts, but that’s the raw charm.
Face Cutout Wall Shelf
Wood-look shelf with cardboard face cutouts – quirky and conversation-starting. Trace templates for easy repeats. My hallway version features silly expressions; guests laugh every time, and it’s held plants without sagging yet.
How to Actually Make This Work For You
Okay, real talk – start by gathering free boxes from grocery runs or online deliveries, then sketch your design on paper to avoid waste. Use a box cutter for clean cuts (safety first, mat underneath), and reinforce joints with packing tape or hot glue – I learned the hard way when my first shelf toppled. Paint with acrylics in matte finishes for that pro aesthetic, and always test weight before loading up; layer in textures like fabric scraps for extra oomph. Mix scales too – tiny accents with big statements keep it balanced and prevents that “all cardboard everywhere” overload. Oh, and embrace imperfections; a slightly wonky edge adds character, like that time my half-moon shelf leaned just right into boho vibes.
Is cardboard decor durable enough for everyday use?
Yep, if you reinforce with glue and tape – mine’s lasted a year with books and plants. Avoid moisture spots, though; spray sealant helps. It’s surprisingly tough for the price.
What paints work best on cardboard?
Acrylic craft paints stick great without warping – water it down a tad for even coats. I love matte black or pastels for aesthetic wins. Primer first if you’re going bold.
Can I do this without power tools?
Totally – scissors, exacto knife, and ruler do the trick for most ideas. I crafted everything by hand in my apartment. Patience is your best tool.
How do I make it look expensive?
Layer paints, add metallic accents, and style with real greenery. Lighting helps too – spotlights make it pop. Friends think mine’s store-bought now.
These cardboard room decor aesthetic gems have totally refreshed my space without the splurge – hope they spark your next project. Which one’s calling your name? Drop a comment; I’d love to hear your DIY wins (or hilarious fails, we all have those).